http://www.flickr.com/photos/30223082@N04/sets/72157624110679515/with/5261825012/


 Here is the original Walter prototype head that I made to experiment with the technique. I learned a lot, but wasn't happy with the eyes, and his ears are too small.
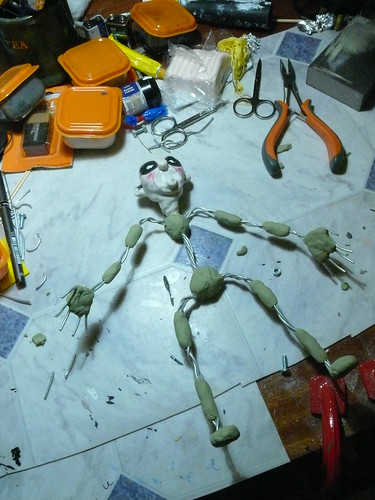
 Materials for step one - aluminium foil, aluminium armature wire, polymer clay and sculpting tools.
 Aluminium foil was used for the core of the heads to make them lighter than solid clay.
 Sculpting a basic head shape using polymer clay over the ball of foil.
  Heads ready to be baked.
 Baked heads after a priming coat of plain liquid latex (Copydex).
 During application of the first coat of dark coloured latex. The latex is tinted by adding a small amount of high pigment, low viscosity paint. I use Games Workshop model paint which works brilliantly. For thinner coats you can use a paint brush, but use cheap ones (but not so cheap that they lose bristles) because the brushes will be permanently ruined. Never use a brush that already has dried latex on it - it will ruin your work. Always test the colour and opacity of your latex mix by putting some on a light coloured piece of plastic and allowing to dry - it will be a very different colour than in its liquid state.
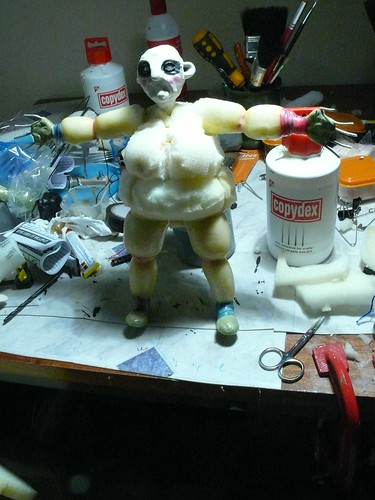
 Thread wrapped around the neck, to thicken it.
 After a few more coats of latex to give a thick latex base before the details are added.
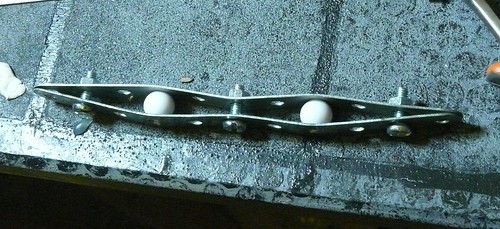
 Temporary eyeballs (white plastic beads) are added, and I began to build up eyelids and other details by dabbing latex onto the head using wooden cocktail sticks. Use a fresh stick as soon as the latex begins to dry out on it, or it will stick to the head.
 Building up more details.
 The first lighter coloured details added.
 After a few coats of thinner, semi transparent liquid latex to smooth out the surface and even up the colour. Latex can be thinned with water - where I live the tap water works well, but if you have hard-water in your area, I'd use distilled water instead.

 Lots more layers of latex added and details built up, using different shades of latex to give more depth.
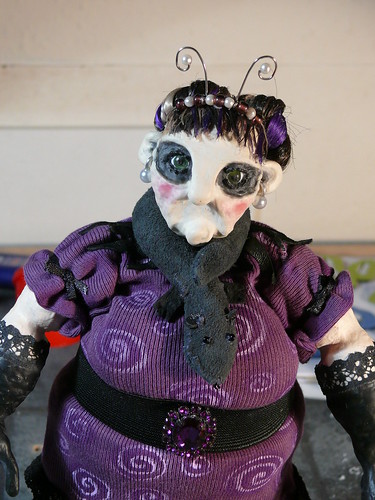
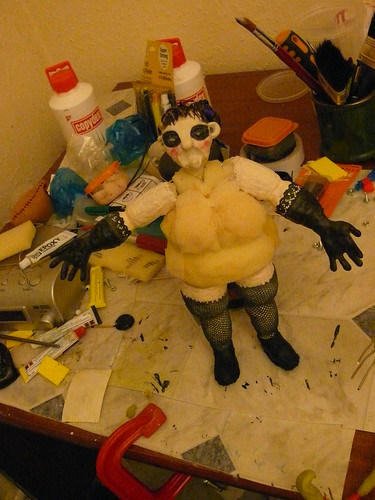
 Adding Edna's eyelashes by building up tiny dots of black latex at the edges of her eyelids. Also beginning to use many watered down coats of latex to create the skin-tones. Edna is much paler than Walter. She is in James' words, 'a glamour nana,' so I whilst applying her 'make-up' I tried to imagine a rather gothic looking version of Barbara Cartland - lots of white powder, and slightly too much blusher! The puppets also have 'panda eyes' as shown in James' designs.

 The finished heads after a light dusting of talc (I use baby powder, as it has no added ingredients) using a soft make-up brush. This stops the latex sticking to things quite so much, and also makes it 'fleshy' looking, as opposed to shiny.
 A few of the many pots of different colours and thicknesses of tinted liquid latex I used on the puppet heads.
 All the used wooden cocktail sticks and just some of the ruined brushes that were used during the process.


